John and I went shopping at a run-of-the-mill bargain outlet yesterday and I ran into a pair of royal blue pants. Having seen some really cute, bright J. Crew pants, I wanted a pair of my own. I settled for the $19 pair at the store. They were, however, boot cut and about 2-3 inches too long.
As spring approaches, it's good to know how to take a pair of boot cuts and turn them into skinny jeans or cigarette pants. (The above are cigarette, because I used a pair of cigarette pants to shape them.. you want skinny's then use a pair of skinny jeans to fit them.)
What you will need?
Pants to alter
Pants that fit just right
Sewing machine and a basic know-how
Seam Ripper (if you don't want to shorten them)
Scissors
Pins
Sharpie
Ruler
1-2 hours? I was done in 20 mins. But, I sew EVERY DAY. Please do let me know how long it takes you so I can adjust that number!
Start by laying out your pants inside out on a flat surface (table or floor).
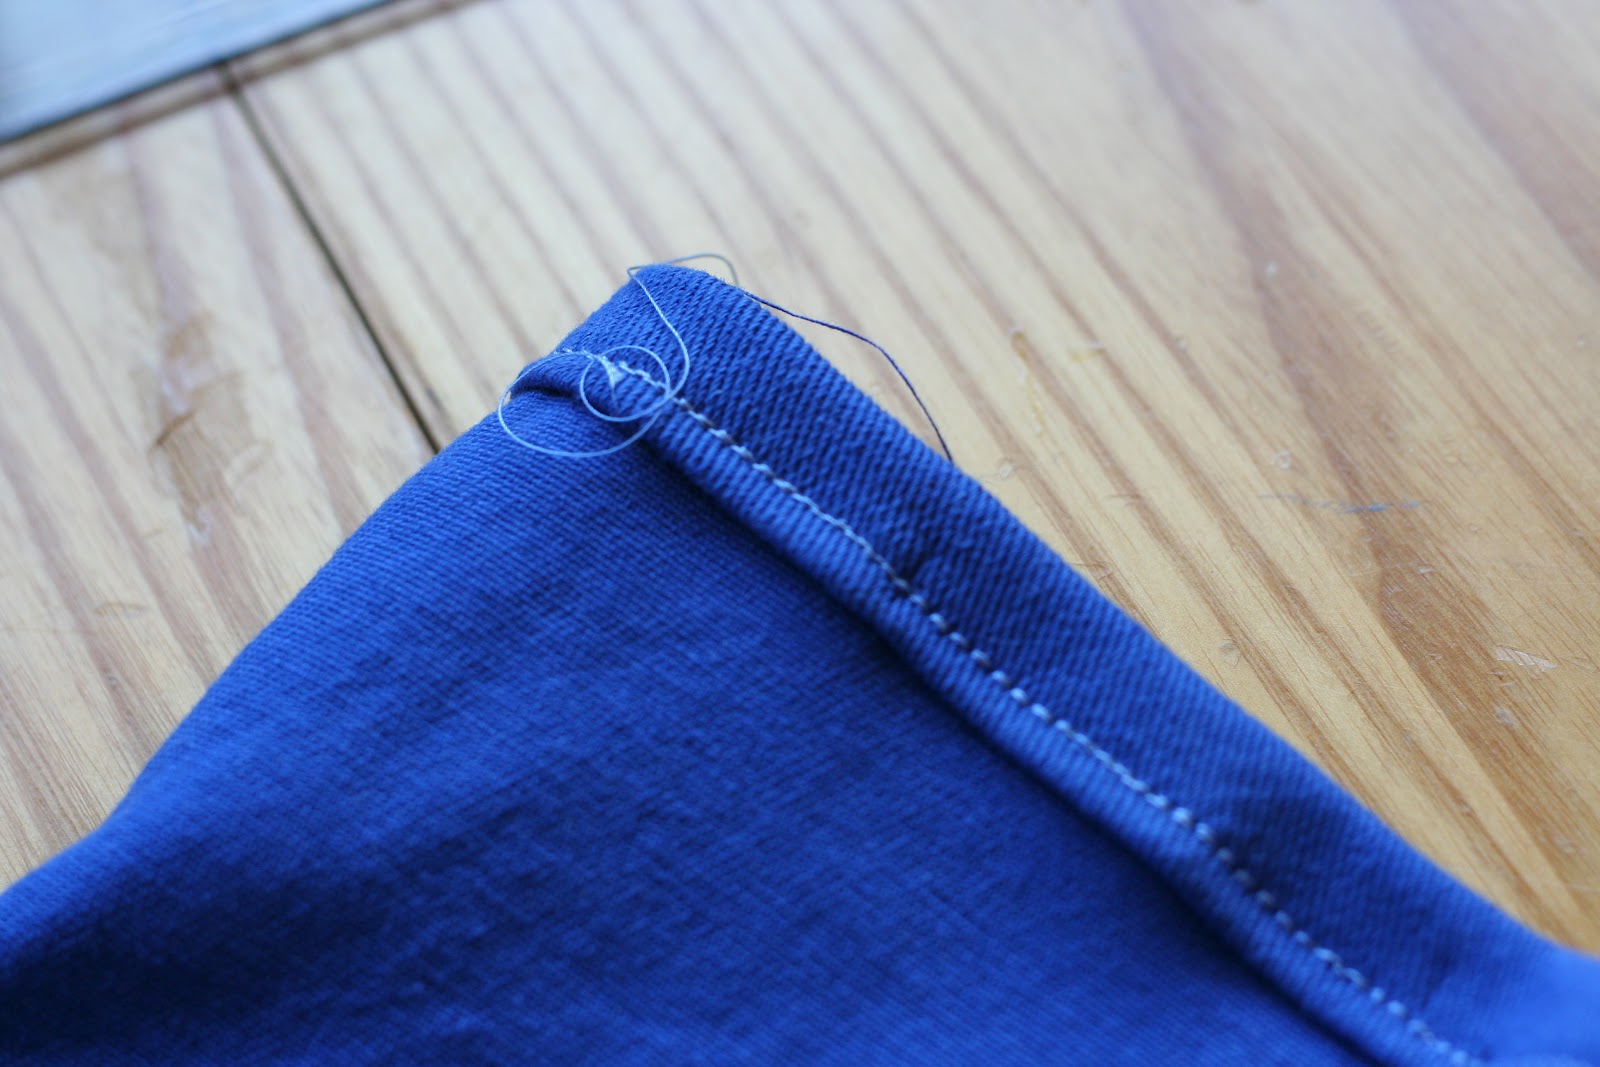
There are 2 seams on your pant. The inside and the outside. The inside generally is sewn then top-stitched. This is because the inside seam receives a lot more wear and rubbing than the outside. You don't want to touch that stitch. Too much work. The outside stitch is serged and sewn. This is the one we will be messing with. Lay that seam flat. Iron it out if it won't lay flat.
Lay your guide pants on top of them also inside out, lining up the inner pant leg. You won't be able to line it up seam to seam because the front of the pants will be smaller than the back. Don't worry if that doesn't make sense. Just make sure that your inside seams line up while your outside seams are still laying flat.
Seam rip the hem about 3-4 inches away from the outer leg seam.
Begin pinning, again, making sure this seam is flat. If you don't, you will have pinched fabric and puckered seams.
I own a serger (overlock machine), so I serge the edges. No worries if you don't have one. You can zigzag stitch the edges or cut them with pinking shears. Cut and zigzag stitch after you've sewn your seam (next step).
Stitch along your your pins. Removing them as you sew.
Try on your pants! You have only placed one stitch. Now's the time to make sure they're fitting the way you want them to. You can remove this stitch and adjust if you need to. If they're fitting nicely. Take them back to your machine and run another stitch along them. Try to stitch directly on top of the seam you just sewed. I stitched mine 3 times. There are generally settings on your machine for a double or triple stitch, so check them out.
Do the same thing to the other side. You can use your guide pants again, or you can use the side you just completed.
If you like the length of your pant the way it is, perfect. Now you can clip the extra fabric where you see the serge edge on my pants below. Leave about 1/2-3/4" next to the seam. Then using the creases, pin, fold and stitch your hem.
If you want a higher hem, let's continue on:
When trying on your pants, tuck the access fabric up to where you'd like it to hit. When you remove your pants, pin the fold. Then, using a sharpie, mark the pant along the seam (this way it won't bleed through.)
Now measure to see how far up the pant this is (mine was 2.5"). Mark this on the inside and outside seams. Now measure 1.25" down from your line. You are about to create a hem.
Mark 1.25" away from your length on both seams as well. Take your sharpie and connect the 2 marks.
Cut along the line.
Now fold your fabric up to the mark you have on your seams (roughly 3/4"). It's a good idea to iron your seam flat.
Fold the fabric again, pinning as you go. You will not have any raw edges. They should all be tucked under your double fold.
Take the pants back to your machine and stitch the hem along the outside of the stitch. I placed my needle all the way to the left and used the left side of my presser foot as a guide.
Repeat for both sides.
Clip threads and you're done.
Please let me know if you have questions in the comments!